Composting 101: Turn Kitchen Scraps Into Free Garden Gold
Composting is the closest thing gardening has to magic: it turns kitchen scraps and yard waste into rich, dark, nutrient-packed soil that supercharges plant growth—entirely for free. It also keeps waste out of landfills, where organic matter breaks down without oxygen and releases methane, a potent greenhouse gas. Whether you have a sprawling backyard or a small balcony, this guide shows you exactly how to compost successfully and use the results to grow healthier, more productive plants.
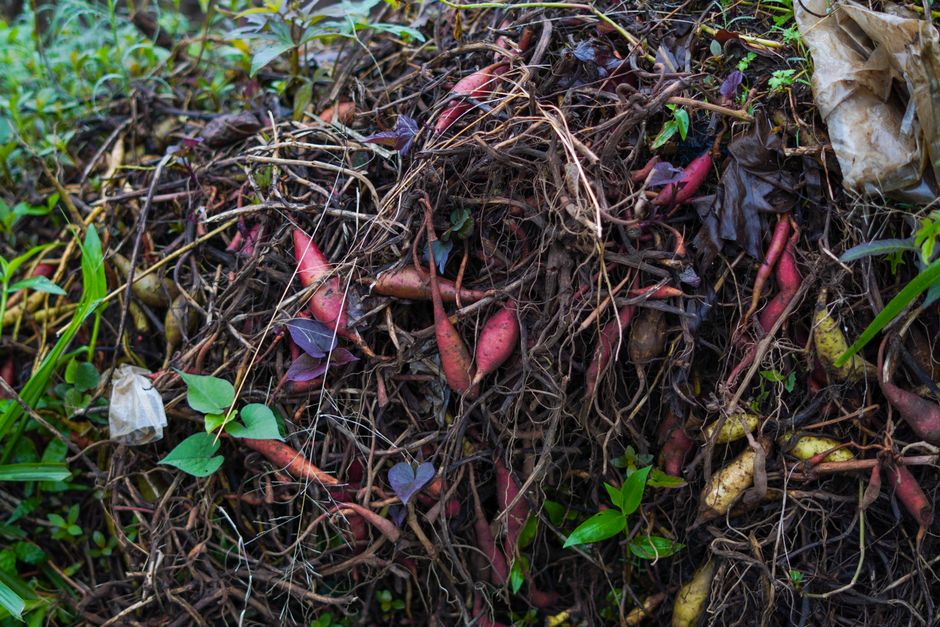
Once you start composting, you will never look at a banana peel or a pile of autumn leaves the same way again—they become the raw material for the best soil amendment money cannot buy.
Why Composting Is Worth It
Finished compost is often called “black gold” because it improves virtually every kind of soil. It adds a broad spectrum of nutrients, improves drainage in heavy clay, helps sandy soil hold water, and feeds the beneficial microbes and earthworms that make plants thrive. Composting at home can also cut your household waste by up to 30% and replace store-bought soil amendments and fertilizers that cost $8–$20 (£6–£16) per bag. It is a rare habit that saves money, reduces waste, and improves your garden all at once.
The Science of Composting
Composting is simply managed decomposition. Microbes break down organic material fastest when you balance two ingredients: carbon-rich “browns” and nitrogen-rich “greens.” Add oxygen through regular turning and a little moisture, and those microbes multiply, heat the pile up, and transform your scraps into humus within weeks to months. Get the recipe right and the process is fast, odor-free, and genuinely satisfying to watch.
Greens vs. Browns and What to Avoid
The heart of good compost is balancing two ingredient types:
- Greens (nitrogen): Vegetable scraps, fruit peels, coffee grounds, fresh grass clippings, and plant trimmings.
- Browns (carbon): Dry leaves, cardboard, shredded paper, straw, and wood chips.
Aim for roughly two to three parts browns to one part greens by volume. Too many greens make a slimy, smelly pile; too many browns slow decomposition to a crawl. Just as important is knowing what to keep out: avoid meat, fish, and bones; dairy and greasy or oily foods; pet waste from dogs and cats; diseased plants and weeds gone to seed; and any treated or painted wood. These attract pests, create odors, or introduce pathogens.
Choosing a Composting Method
Open Pile or Bin
The simplest method: heap materials in a corner or a $30–$120 (£24–£95) bin and turn occasionally. Ideal for backyards with a little space.
Tumbler
An enclosed, rotating drum ($80–$250 / £65–£200) that speeds decomposition, keeps pests out, and is easy to turn—great for tidy suburban yards.
Worm Bin (Vermicomposting)
Red wigglers turn scraps into premium castings, perfect for apartments and balconies. Compact, fast, and odor-free when managed well.
Trench or In-Ground Composting
Bury scraps directly in garden beds to feed the soil in place with zero equipment—wonderfully simple for small gardens.
How to Build and Maintain a Pile
- Layer: Alternate browns and greens like building a lasagna.
- Moisten: Keep the pile as damp as a wrung-out sponge—no wetter, no drier.
- Aerate: Turn every 1–2 weeks to add oxygen and speed the breakdown.
- Chop: Cut or shred materials smaller so they decompose faster.
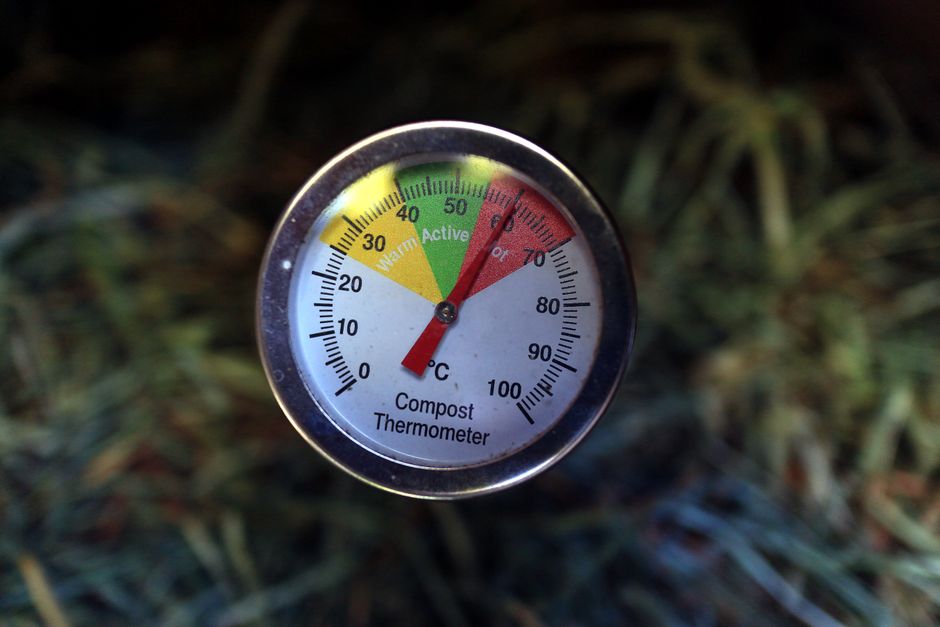
- Monitor heat: A hot, active pile (55–65°C) breaks down quickly and even kills weed seeds.
- Size it right: A pile of at least one cubic yard holds heat far better than a small heap.
Troubleshooting Common Problems
- Bad smell: Too wet or too many greens—add browns and turn thoroughly.
- Not heating up: Too dry or too small—add greens, moisture, and more bulk.
- Pests: Bury food scraps in the center and avoid meat and dairy entirely.
- Slow progress: Chop materials smaller, turn more often, and check moisture.
- Matting (leaves or grass clumping): Mix layers well and add coarse browns for airflow.
Knowing When Compost Is Ready and How to Use It
Finished compost is dark brown, crumbly, and smells pleasantly earthy—never rotten. The original materials should be unrecognizable. Depending on your method and effort, this takes anywhere from six weeks for a hot, well-turned pile to a year for a passive one. Sift out any large uncomposted chunks and return them to your next batch.
To use it, spread a 1–2 inch layer over garden beds as a top-dressing, mix it into planting holes, blend it into potting mixes, or steep it into compost tea for a gentle liquid feed. Because it releases nutrients slowly, compost rarely burns plants and improves soil structure with every single application—the benefits compound year after year.
Composting in Small Spaces and Apartments
You do not need a big backyard to compost. Apartment dwellers and those with tiny yards have several excellent options. A worm bin (vermicomposting) fits neatly under a sink or on a balcony and turns kitchen scraps into premium castings with no odor when managed properly. Bokashi bins use a fermentation process that handles even small amounts of meat and dairy, producing pre-compost you can bury or add to an outdoor pile later.
Countertop electric composters have also grown popular, rapidly drying and grinding scraps into a soil-like amendment within hours, though they cost more upfront ($200–$500 / £160–£400) and use electricity. Finally, many Tier-1 municipalities now offer curbside food-waste collection or community compost drop-off sites—an easy zero-effort option if home composting is not practical. Whatever your living situation, there is a composting method that fits, keeping valuable organic matter out of landfill and turning it into something useful.
Conclusion
Composting is one of the most rewarding, cost-saving habits a gardener can adopt. It transforms everyday waste into a powerful soil booster, shrinks your environmental footprint, and produces stronger, healthier, more productive plants. Start with a simple bin, balance your greens and browns, keep it moist and aerated, and within a few months you will be harvesting your own black gold—for free.