15 Garden Pathway Ideas to Elevate Your Yard in 2026
Garden pathway elevate yard is an important topic for homeowners, and this guide covers it in detail. A garden pathway does far more than get you from one place to another. It guides the eye, defines your outdoor rooms, and adds structure and charm to a yard that might otherwise feel unfinished. The right path invites exploration, protects your lawn from foot traffic, and ties your whole landscape together. In 2026, homeowners are choosing everything from budget-friendly gravel to elegant natural stone. This guide covers the best pathway ideas, material costs, and practical tips to help you build a walkway that lasts and looks great.
Why Garden Pathways Matter
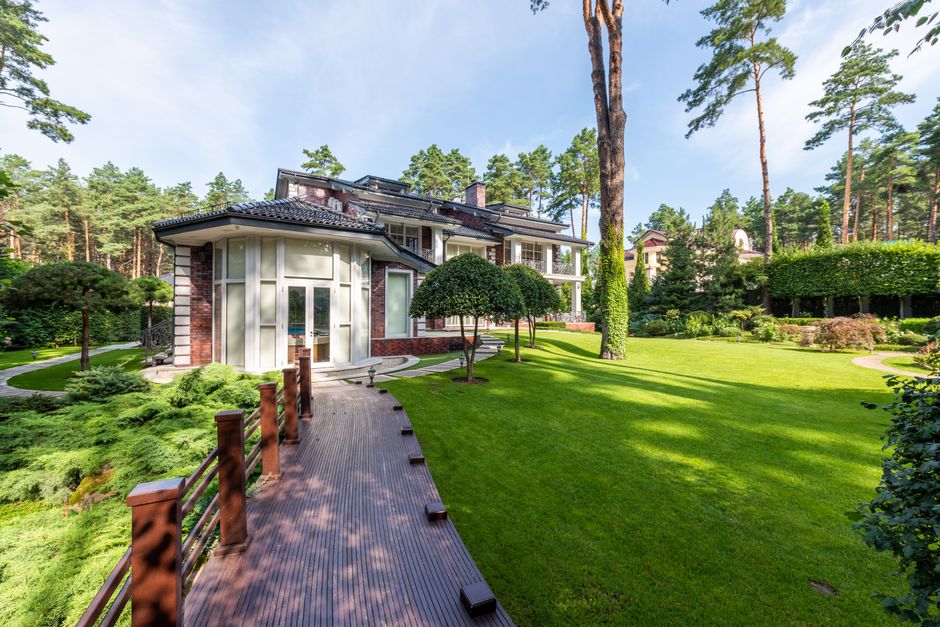
Pathways are the circulation system of your landscape. They direct movement, prevent muddy shortcuts across the lawn, and connect zones like the patio, garden beds, and shed into a coherent whole. A curving path adds a sense of discovery and makes a small yard feel larger, while a straight, formal walkway lends order and elegance. Beyond function, a well-designed path is a design feature in its own right, adding texture, color, and craftsmanship to the garden.
Popular Pathway Materials and Costs
Material sets the tone and the budget. Here are the leading options for 2026, priced per square foot installed:
- Gravel or pea stone — $5 to $12; the most affordable and easy to DIY.
- Mulch or bark — $2 to $6; ideal for informal woodland paths.
- Concrete pavers — $10 to $20; durable and available in many styles.
- Natural flagstone — $18 to $35; premium, organic look.
- Brick — $12 to $25; classic and long-lasting.
- Poured concrete — $8 to $16; clean and low-maintenance.
A 50-foot path three feet wide covers about 150 square feet, so budget accordingly.
Gravel Paths for Budget-Friendly Charm
Gravel remains the go-to for affordable, attractive walkways. It drains freely, suits both cottage and modern gardens, and installs quickly over a compacted base and landscape fabric. Edging with steel, brick, or timber keeps the gravel contained and crisp. Choose angular crushed stone rather than round pea gravel for paths you walk frequently, as it locks together underfoot and stays put. A gravel path is the easiest way to add instant structure on a modest budget.
Stepping Stone Walkways
Stepping stones offer a relaxed, natural way to cross a lawn or garden bed. Set large flat stones about 24 inches apart, center to center, to match a comfortable stride. Nestle them slightly below the lawn surface so a mower can pass over them without hitting the edges. Space them among ground-cover plants like creeping thyme for a soft, established look. Stepping stones use less material than a solid path, making them both economical and visually light.
Formal Paved Paths for Elegance
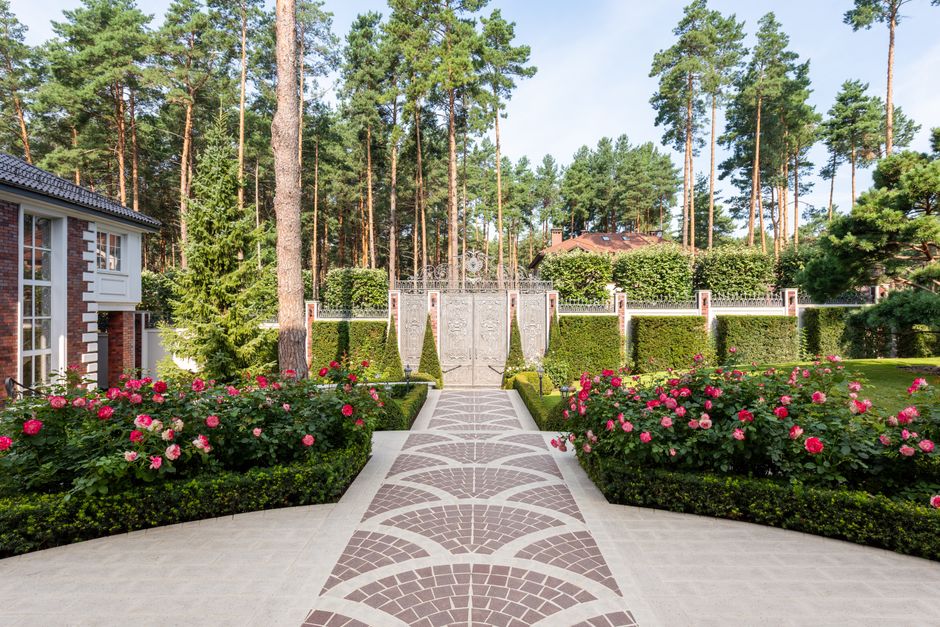
For a polished, architectural look, a solid paved path of brick, pavers, or cut stone reads as intentional and upscale. Herringbone and basket-weave brick patterns add classic detail, while large-format pavers with tight joints feel modern. A formal path works best in straight lines or gentle, deliberate curves that connect defining features like a front gate to a door or a patio to a focal point. Proper base preparation is essential to prevent shifting and cracking over time.
Designing Path Width and Flow
Width determines how a path feels and functions. A main walkway where two people pass comfortably should be four feet wide, while a secondary garden path can be two to three feet. Curves feel natural and invite a leisurely pace, but every curve should have a reason, such as rounding a tree or bed, or it looks contrived. Plan the route along the lines people naturally walk, since a path that ignores desire lines will simply be bypassed.
Edging and Border Ideas
Crisp edging separates the path from beds and lawn, keeping materials contained and the look tidy. Steel edging gives a sleek, nearly invisible border, while brick or stone soldiers add decorative weight. Timber edging suits informal gravel or mulch paths. For planted borders, low mounding plants and ornamental grasses soften the transition and blur hard lines. Good edging is the detail that separates a professional-looking path from a DIY effort that spills into the surrounding garden.
Lighting Your Pathways
Path lighting adds safety and drama after dark. Low-voltage or solar path lights spaced six to eight feet apart cast pools of light that guide the way without glare. For a subtle effect, recessed in-ground lights or step lights wash the surface gently. Warm LED bulbs create an inviting glow, and a timer or smart controller means the path lights up automatically at dusk. Well-lit paths make your garden usable and welcoming into the evening.
DIY Pathway Tips and Pitfalls
Many paths are achievable weekend projects. The key to success is the base: excavate several inches, add and compact gravel, then a leveling layer of sand for pavers or stone. Skipping proper base prep leads to sinking, heaving, and weeds. Lay landscape fabric under gravel to block weeds, slope the path slightly for drainage, and rent a plate compactor for larger jobs. Take time on layout with a garden hose to preview curves before you dig.
Conclusion
A garden pathway is a small project with an outsized impact, adding structure, charm, and function to any yard. Choose a material that matches your style and budget, plan the width and route around how people actually move, and invest in proper edging, lighting, and base preparation for a path that lasts. Whether you lay a simple gravel trail or a formal stone walkway, a well-built pathway will guide, protect, and beautify your garden for years to come.